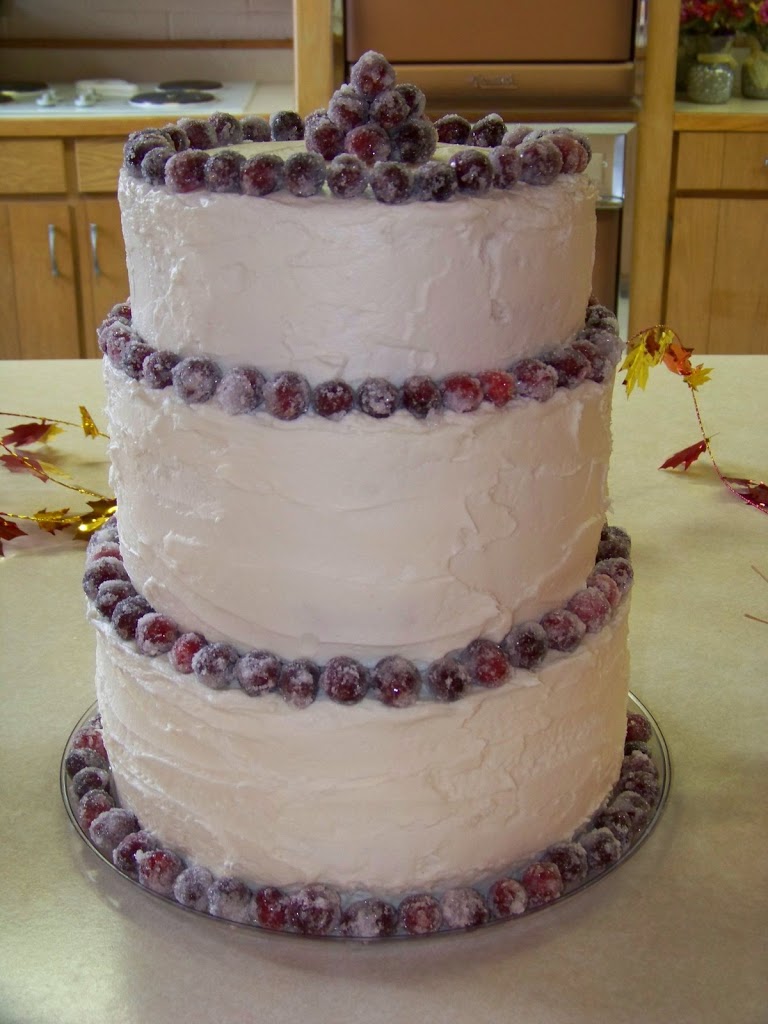
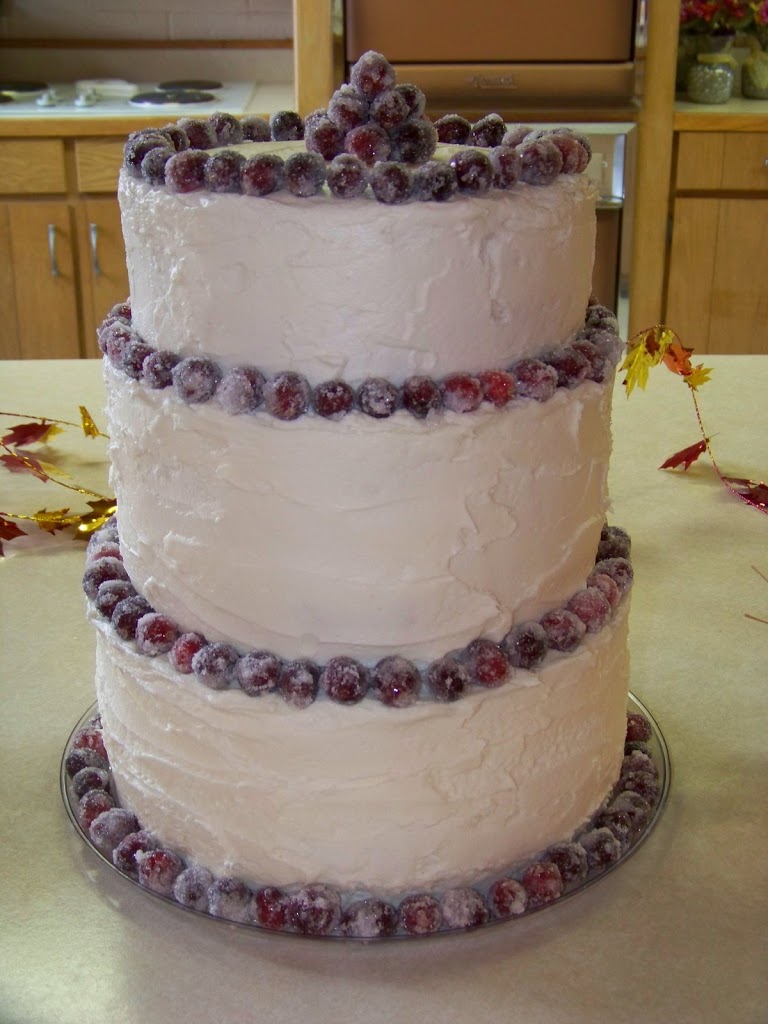
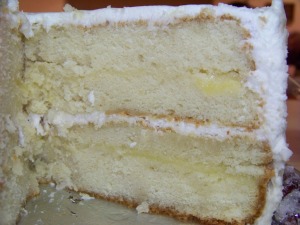
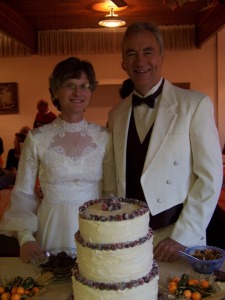
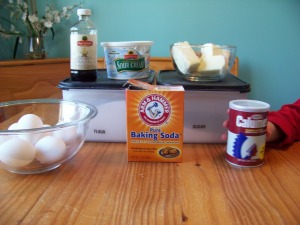
So, the party’s over and we all had a good time. Now for some pictures of how I made the cake.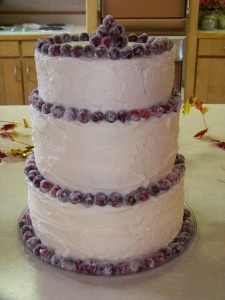 Here’s a picture of the ingredients. Somebody tried to sneek some baking powder out of the picture. Ha! He’ll be surprised when he tastes it!
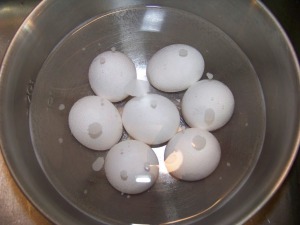
 I like to bake with room temperature eggs, but I never plan far enough ahead of time to set them out so instead I let them sit in hot tap water for a while. Works just as good.
I always forget to set the butter out too, but I just put that in the microwave for about 18 seconds and call it good.
Then added the eggs one at a time…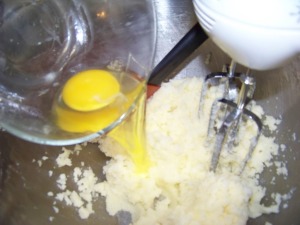
Then some vanilla…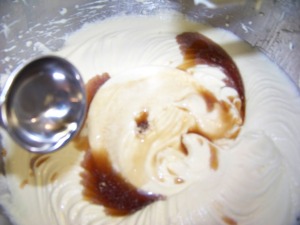
Then the flour mixture…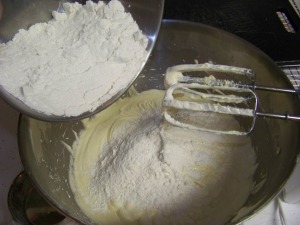
Lastly, some sour cream.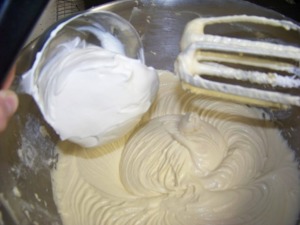
Into the pans! I made two of each size. This is a picture of my 10″Springform and an 8″ cake pan. I was too lazy to take a picture of the 9″ pans. Besides, it would have been a little redundant.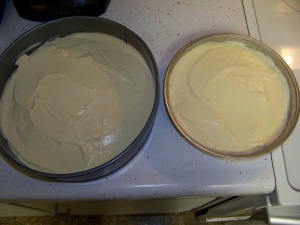
While those were in the oven, I made a simple syrup with lemon zest to brush on each layer.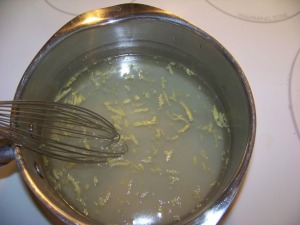
Here is a picture of the Lemon Curd (which by the way is delicious on toast!).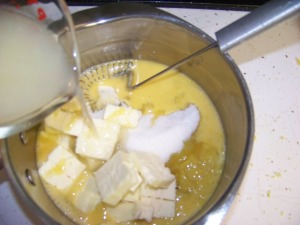
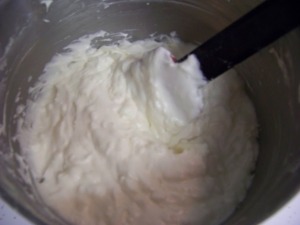
Here is the Pineapple Filling in my homemade double boiler,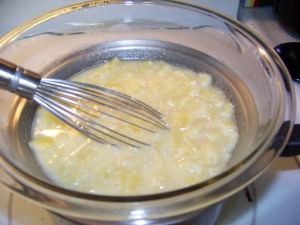 and the Coconut Cream Cheese Frosting.
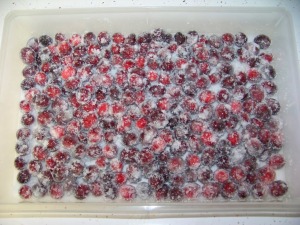
 I made some Frosted Cranberries by coating fresh cranberries in corn syrup, shaking them in a Tupperware container (have I ever mentioned how much I am in love with my Tupperware?) with some sugar, and letting them dry overnight. These were to garnish the cake.
 I cooled the layers for about 15 minutes in the pan and then pressed them under a clean towel before taking them out and wrapping in saran wrap. The pressing was to level the cakes for stacking and filling and the saran wrap was to preserve moisture.
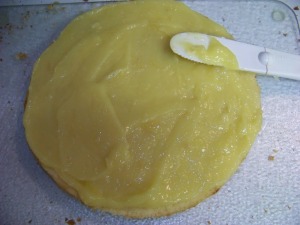
 Lemon Curd went on the bottom.
 Hmmm. I guess I forgot to take a picture of the Coconut Frosting that went into the middle layer. I know, I know, you’re really disappointed.
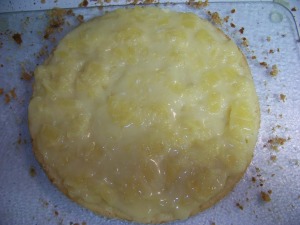 Then, a thin layer of frosting to keep all of those pesky crumbs in place. Seth cut out cardboard circles and covered them in aluminum foil for each layer. I know; he’s a keeper!
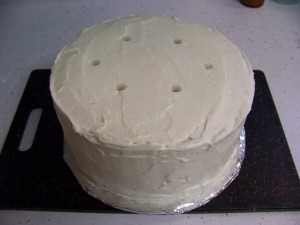
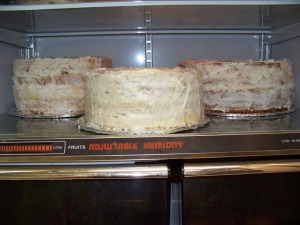 When the crumb coat had hardened, I covered each layer in frosting and cut straws to the height of the two bottom parts of the cake for support.
While I was doing that, Seth was hard at work crumbling cake for cake balls.
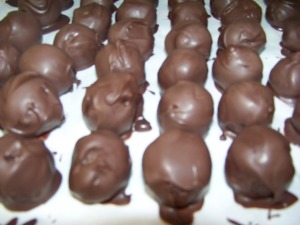
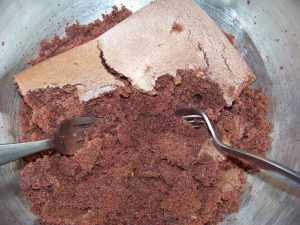 I got the idea from http://bakerella.blogspot.com They were so easy! Just bake a cake from a box mix. When it’s completely cooled, have one of your slaves (in my case, Seth) crumble it in a bowl and then mix in a can of store bought frosting. Then, shape them into quarter-size balls, put in the freezer for 15 minutes, and dip in melted chocolate.
 Here’s a picture of the ingredients. Somebody tried to sneek some baking powder out of the picture. Ha! He’ll be surprised when he tastes it!
 I like to bake with room temperature eggs, but I never plan far enough ahead of time to set them out so instead I let them sit in hot tap water for a while. Works just as good.

I always forget to set the butter out too, but I just put that in the microwave for about 18 seconds and call it good.
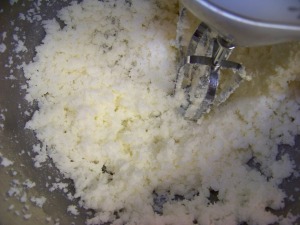
I creamed the butter and sugar together…

Then added the eggs one at a time…

Then some vanilla…

Then the flour mixture…

Lastly, some sour cream.

Into the pans! I made two of each size. This is a picture of my 10″Springform and an 8″ cake pan. I was too lazy to take a picture of the 9″ pans. Besides, it would have been a little redundant.

While those were in the oven, I made a simple syrup with lemon zest to brush on each layer.

Here is a picture of the Lemon Curd (which by the way is delicious on toast!).

Here is the Pineapple Filling in my homemade double boiler,
 and the Coconut Cream Cheese Frosting.
 I made some Frosted Cranberries by coating fresh cranberries in corn syrup, shaking them in a Tupperware container (have I ever mentioned how much I am in love with my Tupperware?) with some sugar, and letting them dry overnight. These were to garnish the cake.
 I cooled the layers for about 15 minutes in the pan and then pressed them under a clean towel before taking them out and wrapping in saran wrap. The pressing was to level the cakes for stacking and filling and the saran wrap was to preserve moisture.
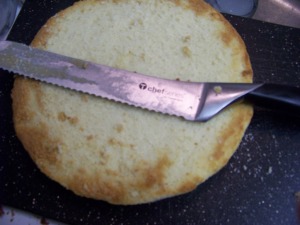
When the cakes were completely cooled, I torted (weird word) them with, what else, a Tupperware knife and brushed each piece with the syrup.
 Lemon Curd went on the bottom.
 Hmmm. I guess I forgot to take a picture of the Coconut Frosting that went into the middle layer. I know, I know, you’re really disappointed.
Here’s a picture of the Pineapple Filling that went into the top layer to cheer you up.
 Then, a thin layer of frosting to keep all of those pesky crumbs in place. Seth cut out cardboard circles and covered them in aluminum foil for each layer. I know; he’s a keeper!
 When the crumb coat had hardened, I covered each layer in frosting and cut straws to the height of the two bottom parts of the cake for support.
While I was doing that, Seth was hard at work crumbling cake for cake balls.
 I got the idea from http://bakerella.blogspot.com They were so easy! Just bake a cake from a box mix. When it’s completely cooled, have one of your slaves (in my case, Seth) crumble it in a bowl and then mix in a can of store bought frosting. Then, shape them into quarter-size balls, put in the freezer for 15 minutes, and dip in melted chocolate.
I have sticks for cake pops too, but I decided to save them for another “Cooking with Jackson” post.
